
I’m pretty new to Angular JS/2/4/5, but I must say, I’ve been delighted playing with it. I used to do things the “old fashioned” way of jQuery and manipulating the DOM. Seems so antiquated now that I’ve seen the light … of the Angular variety of course.
[side note: from now on, when I say Angular I’m referring to the new way of doing Angular, that is Angular 2, 4 or 5. If you’re new to Angular, I would recommend just skipping AngularJS and go straight to Angular 2! You’ll thank me later.]
I’ve still got a lot to learn, and I look forward to it, but there has been an issue that doesn’t seem to have a good clean solution. I’ve cobbled a few articles together to document something that I couldn’t find a good solution to. That being, how to get a project started with nodejs/express and have it dish out Angular. I know, I know. Angular is a front end framework, you can have any web server serve it up. Yes, that’s true. And yes, in larger projects, you’ll likely be dishing out the Angular from nginx or apache or something other than nodejs/express. But also true is that if you’re doing something with Angular, chances are high that you’ll be requiring some sort of back-end web service to back it up. Chances are also pretty good that that back-end web service will be done in nodejs (with or without express). So if you fall into that group, read on!
Angular development requires typescript. This requires compilation. (Angular uses webpack to do this). If you’re serving this from a separate web server, then it’s a nuisance to switch back and forth between your front-end and back-end, recompiling, reloading etc. Well, I’ve put together some instructions so you can have your cake and eat it too. Enough of the long intro, let’s get started!
Some per-requisites. You’ll need nodejs/npm and angular-cli installed. There are many tutorials on how to do this, so go google them and get them installed on your platform of choice. (As of this writing, I’ve tried this on a Mac and Linux.) Here are a couple of links to get your started if you’re too lazy to google 🙂 Link 1 and Link 2.
Installing Angular
First we’ll bootstrap a new Angular project using the angular-cli. (You can put it in whatever directory you want. It’ll create a new sub-directory with the name of the project you give it)
> ng new angular-test
> cd angular-test
At this point, you’ll have a stub Angular app that you can run by issuing the command:
> ng serve
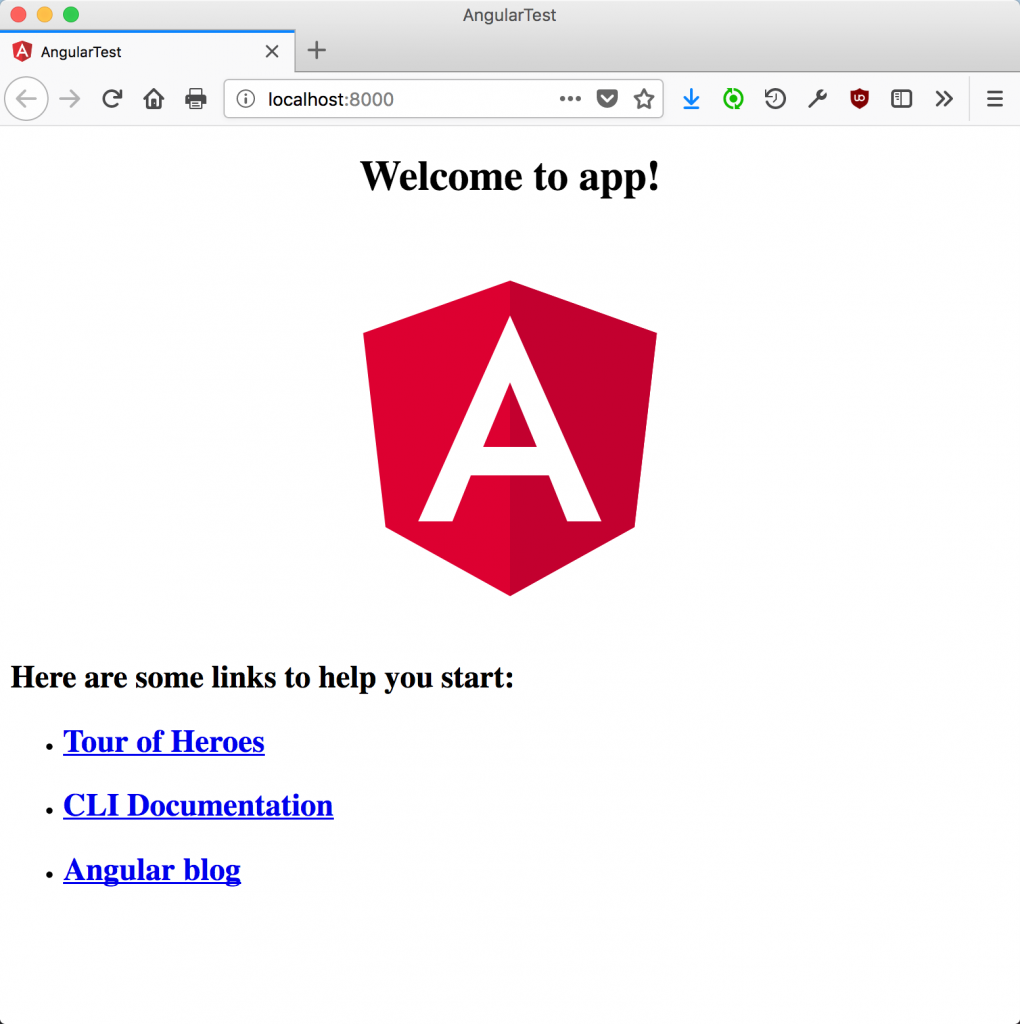
This will load up a web server on port 4200. Hit up http://localhost:4200 and you’ll see the default app that was installed.
Injecting Express Into Your Angular Project
Now we need to install express right into the root of your Angular project. If you followed the steps above, you should already be in there. (Note we’ll also be installing body-parser. This is just small package to help with parsing incoming requests) We’ll be using the –save parameter to tell npm to add these packages to our package.json file:
npm install --save express body-parser
Setting Up Express To Serve Angular Files
Before we fire up express, we need to do a build with the angular-cli tool. This will build your angular project and put it in a sub-directory called dist/:
ng build
We now need to create a server.js file. (It can be called whatever you want.) Here’s what mine looks like:
// our dependencies
let express = require('express');
let path = require('path');
let http = require('http');
let bodyParser = require('body-parser');

// instantiate our express object
let app = express();

// parsers for POST data
app.use(bodyParser.json());
app.use(bodyParser.urlencoded({ extended: false }));

// point static path to dist
app.use(express.static(path.join(__dirname, 'dist')));

// Catch all other routes and return the index file
app.get('*', (req, res) => {
 res.sendFile(path.join(__dirname, 'dist/index.html'));
});

// Get port from environment or set it
let port = process.env.PORT || '8000';
app.set('port', port);

// Create HTTP server.
let server = http.createServer(app);

// Listen on provided port, on all network interfaces.
server.listen(port, () =>
  console.log(`express running on localhost:${port}`));
It’s a pretty standard express app file, but the keys lines are:
// point static path to dist
app.use(express.static(path.join(__dirname, 'dist')));

// Catch all other routes and return the index file
app.get('*', (req, res) => {
 res.sendFile(path.join(__dirname, 'dist/index.html'));
});
This points to the dist/ sub-directory that angular-cli build tool created and serves up the index.html from within. This is in essence, your Angular app!
Auto build/load
Angular has a nice development web server that detects changes to your files and recompiles your project and notifies the browser for a reload! It’s a very nice way of working, not having to manually compile and reload. Node.js/express also has it’s own tools to monitor changes and reloads the server. However, they don’t play together very nicely.
Enter gulp. Gulp is a toolkit for automating your tasks (like compiling, linting, copying and deploying). We’re going to use it for all that and more! We’re going to also be installing the gulp-live-server module to run our express server and use the built in watcher for live re-compiles and the built in tiny-lr (tiny live reload) to automatically reload your browser window any time there’s a code change. Let’s start by installing gulp-cli globally so we have easy access to the gulp command line tool.
sudo npm -g install gulp-cli
Now install gulp and gulp-live-server into your project:
npm install --save gulp gulp-live-server
Now we need to create a gulpfile.js. Here’s an example of one:
let gulp = require('gulp');
let gls = require('gulp-live-server');
let spawn = require('child_process').spawn;

gulp.task('default', function() {
  // run your script as a server
  let server = gls('server.js');
  server.start();

  let ngbuild = spawn('ng', ['build', '--watch', '--delete-output-path', 'false']);

  ngbuild.stdout.on('data', (data) => {
   console.log(`stdout: ${data}`);
  });

  ngbuild.stderr.on('data', (data) => {
    console.log(`stderr: ${data}`);
  });

  ngbuild.on('close', (code) => {
    console.log(`child process exited with code ${code}`);
  });

  gulp.watch(['dist/*'], function (file) {
    server.notify.apply(server, [file]);
  });

  // Note: try wrapping in a function if getting an error like `TypeError: Bad argument at TypeError (native) at ChildProcess.spawn`
  gulp.watch('server.js', function() {
    server.start.bind(server)()
  });
});
Let’s break in down a bit.
gulp.task('default', function() {
This just creates the default gulp task. This is the task that will run when you just issue the gulp command without any parameters. You can specify actions for any tasks you want (like build, deploy, etc.). In our example, we’re just going to keep it simple and use the default task.
// run your script as a server
let server = gls('server.js');
server.start();
This starts our express server.
  let ngbuild = spawn('ng', ['build', '--watch', '--delete-output-path', 'false']);

  ngbuild.stdout.on('data', (data) => {
    console.log(`stdout: ${data}`);
  });

  ngbuild.stderr.on('data', (data) => {
    console.log(`stderr: ${data}`);
  });

  ngbuild.on('close', (code) => {
    console.log(`child process exited with code ${code}`);
  });
These lines will spawn a separate process and run the angular-cli command ‘ng build –watch –delete-output-path false’. The –watch parameter tells the ng command to continuously watch for file changes and re-compile as necessary. The –delete-output-path false parameter tells ng not to delete and replace the dist/ directory when re-compiling. This helps with the livereload later on.
Finally, we have a couple of watch commands:
gulp.watch(['dist/*'], function (file) {
  server.notify.apply(server, [file]);
});

gulp.watch('server.js', function() {
  server.start.bind(server)()
});
The first watch looks for changes in the dist/ directory (remember, this is where angular-cli deploys the angular app when you use the ng build command). If any changes occurs, it will notify the browser to reload. (More on this in a second) The second watch just looks for any changes to your express server and reloads the server as necessary. Our example is very simple and we have all our needed server code in one file. In a more complex project where you may have your routes and other tasks in separate files, you’ll need to create watchers for those files as well. That’s it! now just run the gulp command:
gulp
and you should see some output that looks like this:
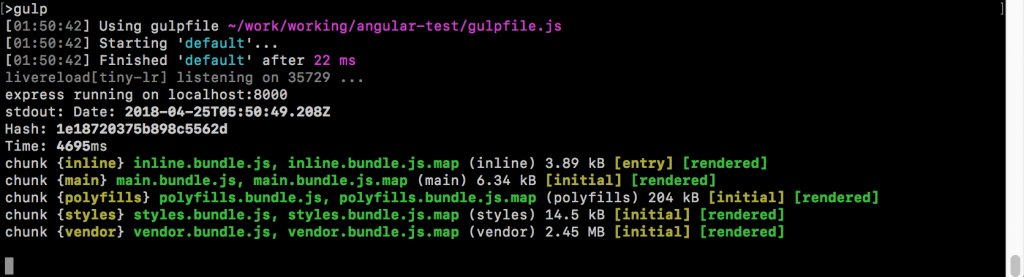
You’ll notice that it automatically started a livereload server listening on the standard port of 35729. If you wanted to use a different port, you can just change the line that looks like this:
let server = gls('server.js');
to this:
let server = gls('server.js', undefined, 35728);
You’ll also see express server running (now on port 8000 if you’re using my above examples) and the output of the ‘ng build’ command.
Livereload in your browser
Before livereload will work in your browser, you’ll need to install an extension called, you guessed it, livereload. This is the easiest way anyways. There are manual ways that involves putting a snippet of javascript in your header. You can find more information on how to do that in the links I’ve provided below under references. There are links below to get these addons for Firefox and Chrome. I could not find one for Safari as of this writing.
Now visit http://localhost:8000 and you should see the same Angular default app. Go ahead and try to make some changes to your server.js and watch the output of the window that invoked the gulp command and you should see it reload the express server. Now try making a change to your Angular app and you should see the output of the rebuild, but also, your browser should refresh itself:
References:
https://scotch.io/tutorials/mean-app-with-angular-2-and-the-angular-cli
https://www.npmjs.com/package/gulp-livehttps://www.npmjs.com/package/gulp-live-server-server
https://addons.mozilla.org/en-US/firefox/addon/livereload-web-extension
https://chrome.google.com/webstore/detail/livereload/jnihajbhpnppcggbcgedagnkighmdlei